Introduction
When it comes to playing Base Defense the key thing to know is that your survival depends on situational awareness and teamwork. When you launch yourself into a game, the fight will begin very quickly and you will have to fight for your life and those around you. You will want to keep a sharp mind and a keen eye. Note: this guide is written to make a newbie-player understand the game basics easier.
Beginning
It is suggested for you to follow this part step by step to the “Looking Around” section.
So you’re here now, right? But what’s this?
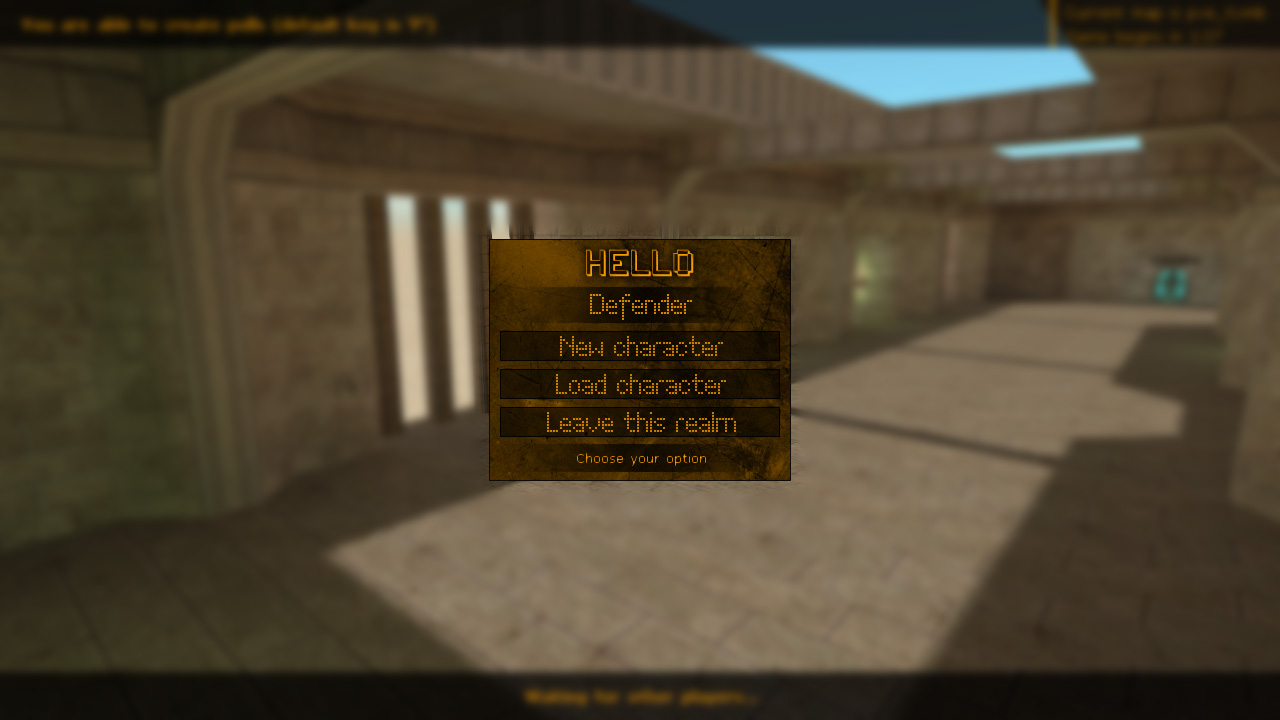
It is a menu for you to create new characters, load your created character/previous game or quit the server. Your saved characters are bound to your current “character name” (or just nickname). You will have 8 save slots, which are rewritable, so if you find one of your characters not powerful enough, then you can just replace saved character with a new one. Note: save files depend on the server you’re playing, you won’t be able to continue the game you were playing on some server online.
New character screen is built specifically for this game and with it, you can start a character formed through one of three classes. More information about classes. You’re welcome to choose freely, but where their perks come in handy will be for you to judge. Go ahead and select your character.
Load character screen is made to load one of your previous games or created character(s). It works this way: if the wave is set already, then it will load your character only (you will be notified if you’re unable to load the character, it can happen if the difference between the current wave and the wave from your save file is more than 10), if the wave isn’t set yet, then the game will load your character and set the current wave to the one you have in your save file. Note: the first player who loads his progress will set the wave number for that game session. If you are with a group, find out who has the waves closest to yours.
Leave this realm will make you quit the server.
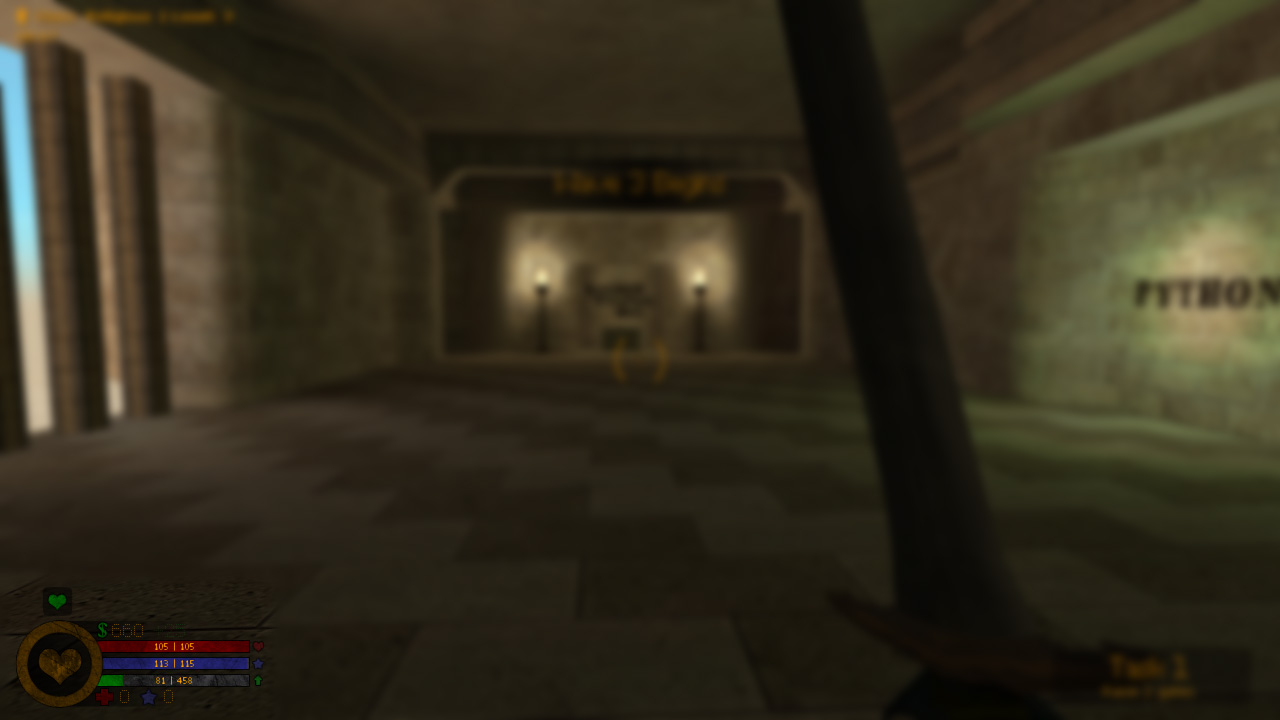
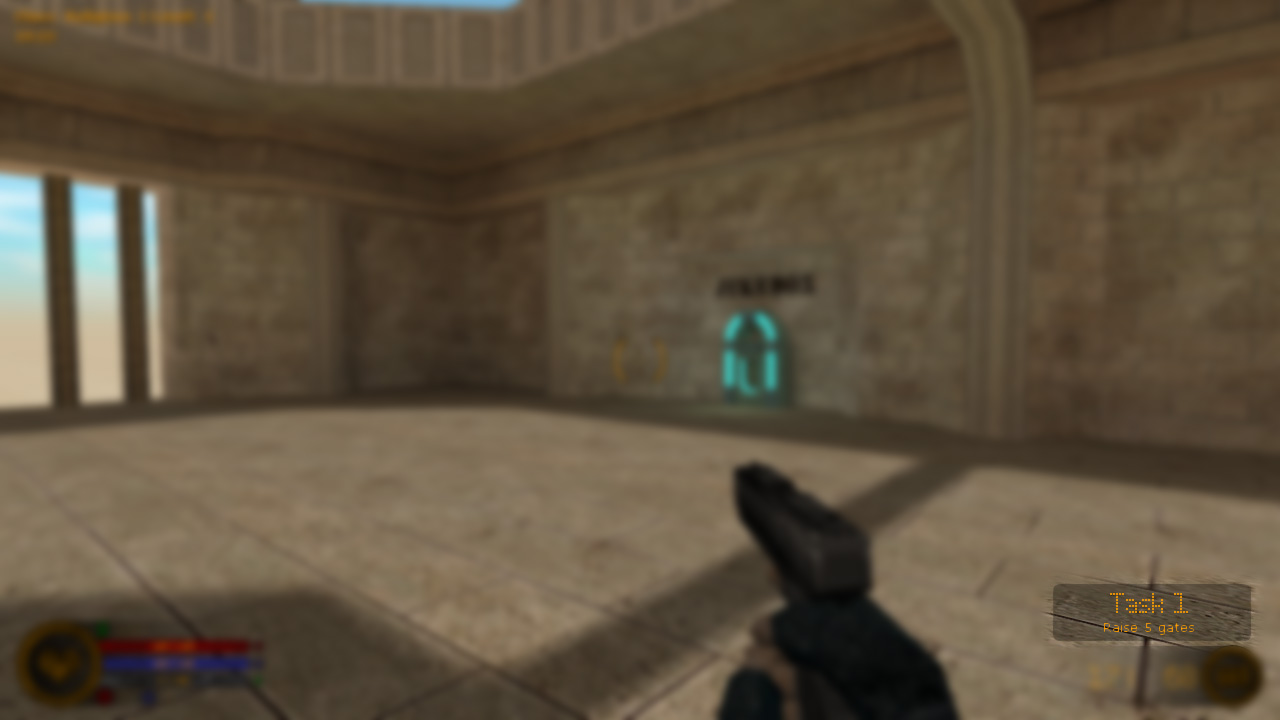
You may notice that you’re not immediately in the game and therefore you’re not wrecking face as you would prefer. The reason for that being that this is a sort of pseudo-lobby type of area. This area has a designated timer that of course differs from server to server. That timer in the upper right hand corner is ticking down so that it offers time for others to join you in your fight. Teammates are definitely helpful and you may require them, should you find yourself in trouble.
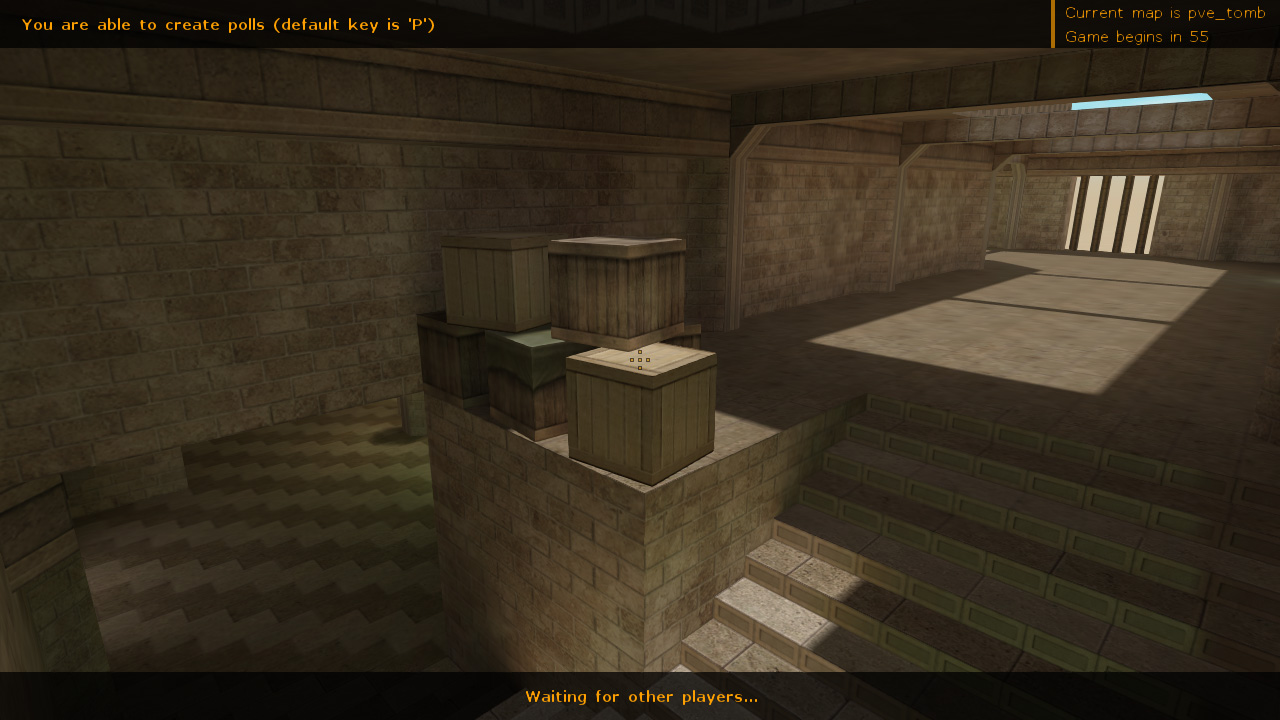
Above the timer is the name of the map that you’re currently on, take note of that for your solo time or other server play, should you enjoy the map! Note: there’s a special mark after some map names – “custom”, which means the map you’re playing was created by the community. If there’s no such mark after the map name, it means the map was created by the mod author himself.
You’ll notice it’s free look as well. Feel free to look around the map as time expires before the game begins.
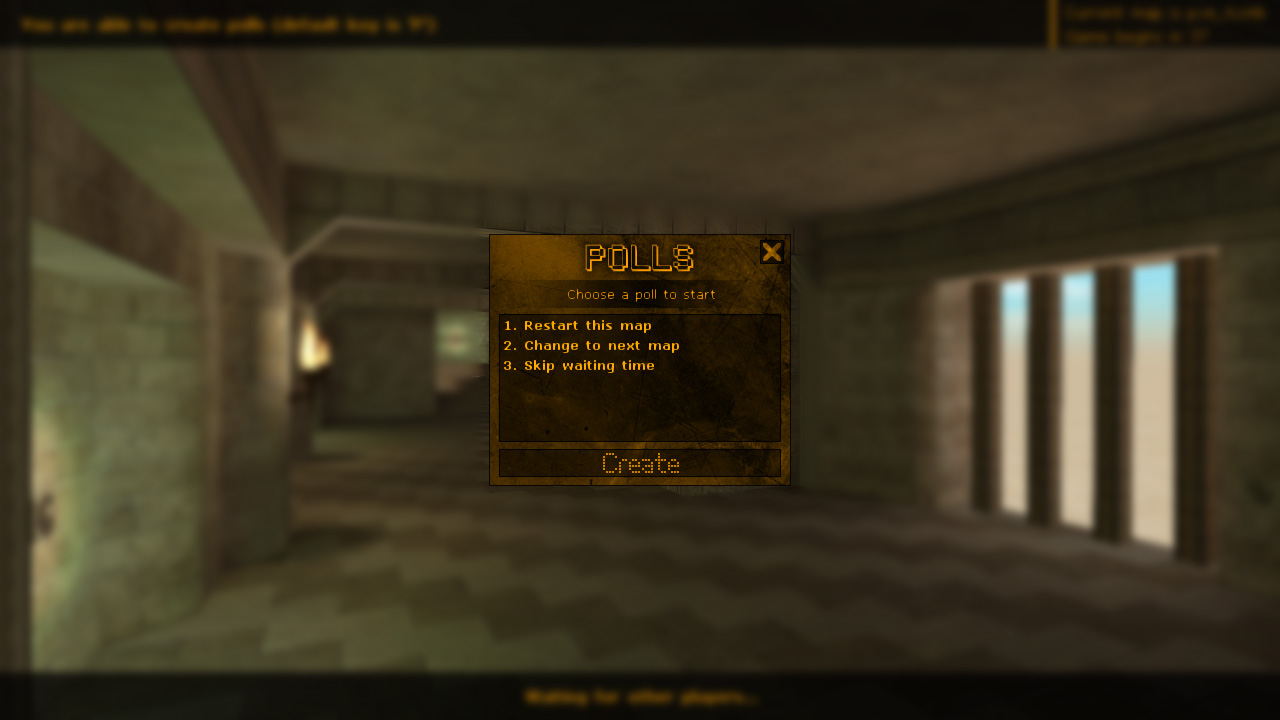
Expecting time to move much faster? There is a certain remedy to this that I think you’ll enjoy. Press the “P” button. This button opens up a menu that is the “Poll system”. This system is fantastic for ending the timer and thrusting you straight into the game, or if you find yourself at a disadvantage and you want a fresh start, go with the “restart map” vote and hit “create”. This will create a poll that if there are other plays, they will have to vote in favor of your poll for the request to go through.
Are you not enjoying this particular map? Go for the “change to next map” vote and create it! If this vote makes it through, you and your friends till be connected to the next map in the server’s cycle!
Note: if there are no other players, the action you’ve selected will be executed immediately.
When you’re done with said things and the timer has reached zero (it will disappear), you will be prompted with a “Press JUMP to spawn!” header on the bottom middle of the screen. This indicates that in order to join you should press your jump key (Default key is “SPACE”).
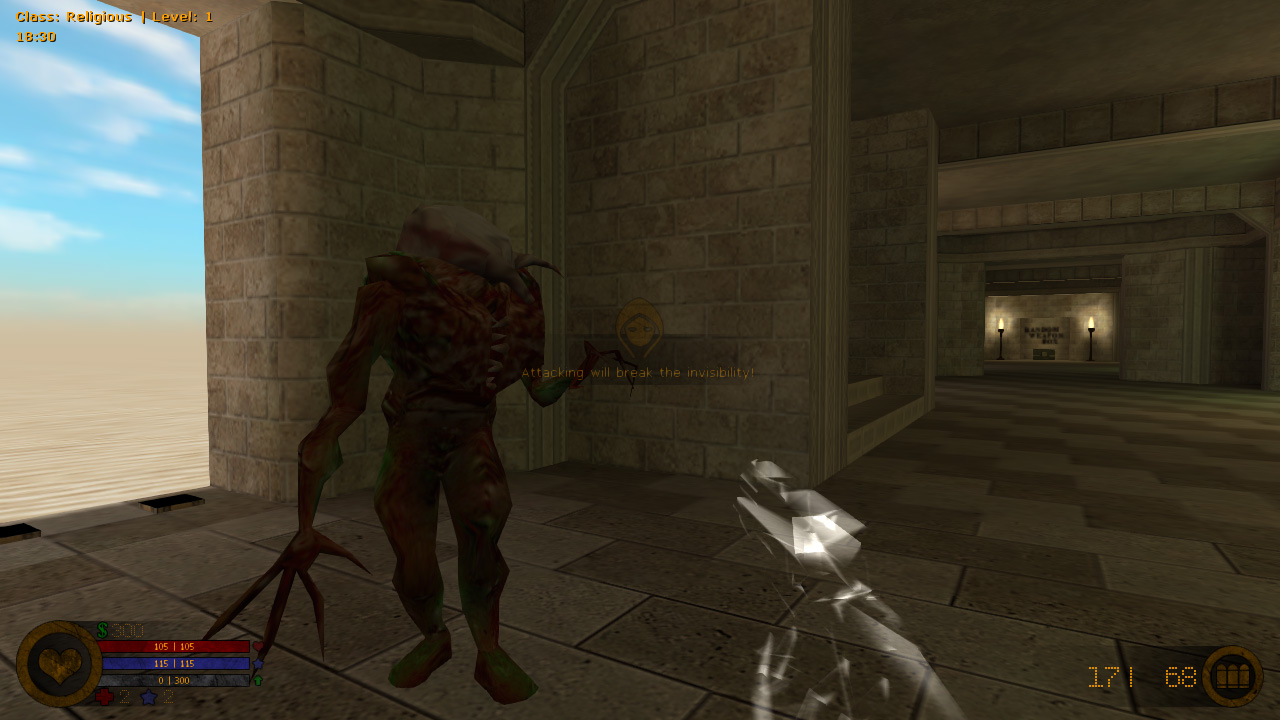
When you spawn in, take a moment to stand very still and press the “X” Key. Try not to move! What this key does is provide you with a cloak. One of which that will cover your entire body and turn you completely invisible. You will stay this way until you choose to fire your weapon, use selected skill or press any of the wall buttons to raise the protective gates should they be lowered. It is suggested for you to do so, because you will be hunted as soon as the wave begins.
In this state you are provided momentary solace from the enemies which surround you. You are sight unseen.
Looking Around
In this state of invisibility, I want you to hold a moment to take in your surroundings and get a feel for what you’re working with. Take the HUD or “Heads-Up Display” for example.
Main HUD
Notice there are three bars in the lower left corner. They are very important.
One is Red. The topmost bar. This meter represents your health points or “HP”. They are your vitality. Your most precious points. Never let them drop to zero or there will be no /you/ left to fight this battle.
The next one is Blue. The middlemost bar. This meter represents your Mana Points or “MP”. They are your gateway to your powerful abilities. They replenish slowly as time goes on, should they reach zero! The points will replenish faster later on as you level up.
The final one is Green. The lowermost bar. This meter represents your Experience Points or “XP”. They are your second most important points. Your bread and butter for making headway in agility, strength, longevity and capability. You will want to take notice of them from time to time to see just how much you need. Once you meet the requirement of XP, you will be awarded a level. Cherish this level.
Above these reads your “cash stack” numbers, which are very important for your decision making of purchases and whether or not you want to spread your wealth to your teammates. This can be done via the “G” key, for the grands of cash you’re willing to share. Don’t go too wild with the button, because your teammate may not be so “generous” as to give back any “accidentally” transfered cash.
To the left of these bars, you’ll see an icon that is surrounded by a circle. This icon indicates which skill/spell you’ve chosen, which can be changed via the F1, F2, F3 and F4 buttons on your Keyboard.
Underneath these wonderful readings, you’ll notice a red plus and a blue star. “What are these?” you’re asking? They’re indicators for the number of Medikits and Manakits.
Ammo HUD
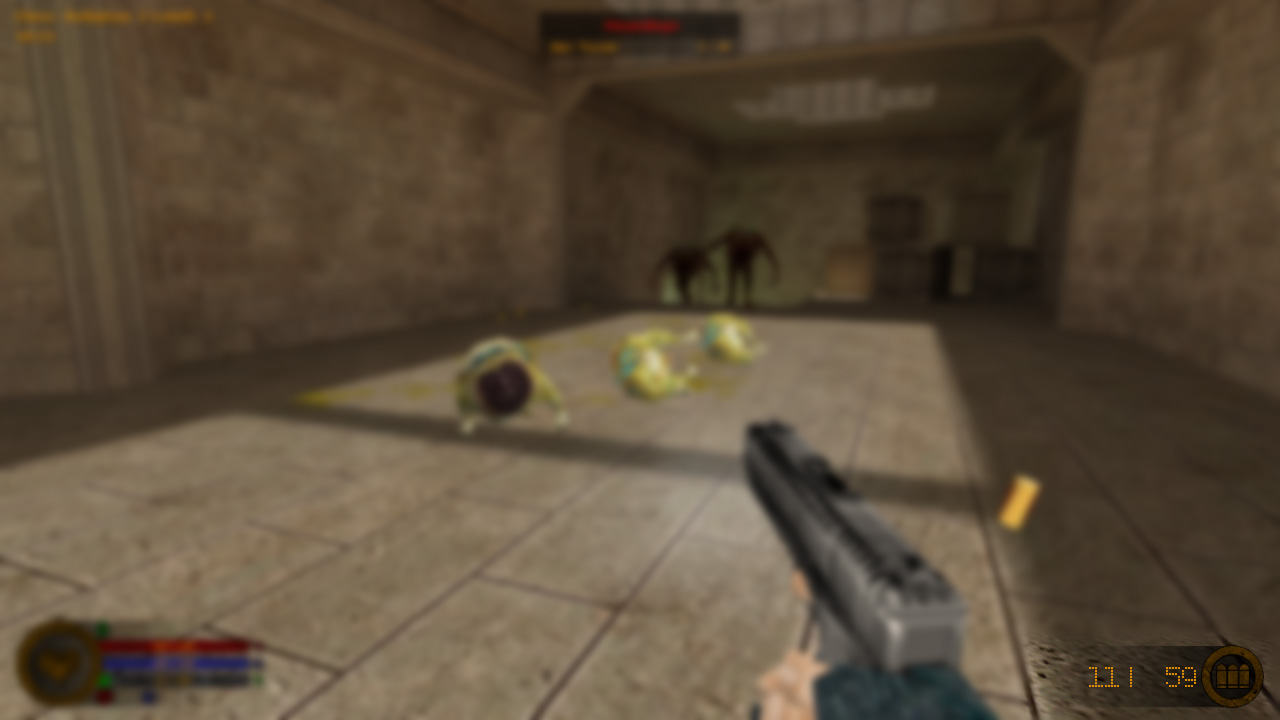
On the right of this left corner set up lies the counter for ammunition. The left number indicates the number of rounds in the magazine or clip. The right number indicates how much you are carrying to reload with.
Top HUD
Good! Now that you have an idea as to what the indicators on the lower portion of the screen, I want you to look at the upper left corner of the screen. You will notice two things, Time, Class and Level.
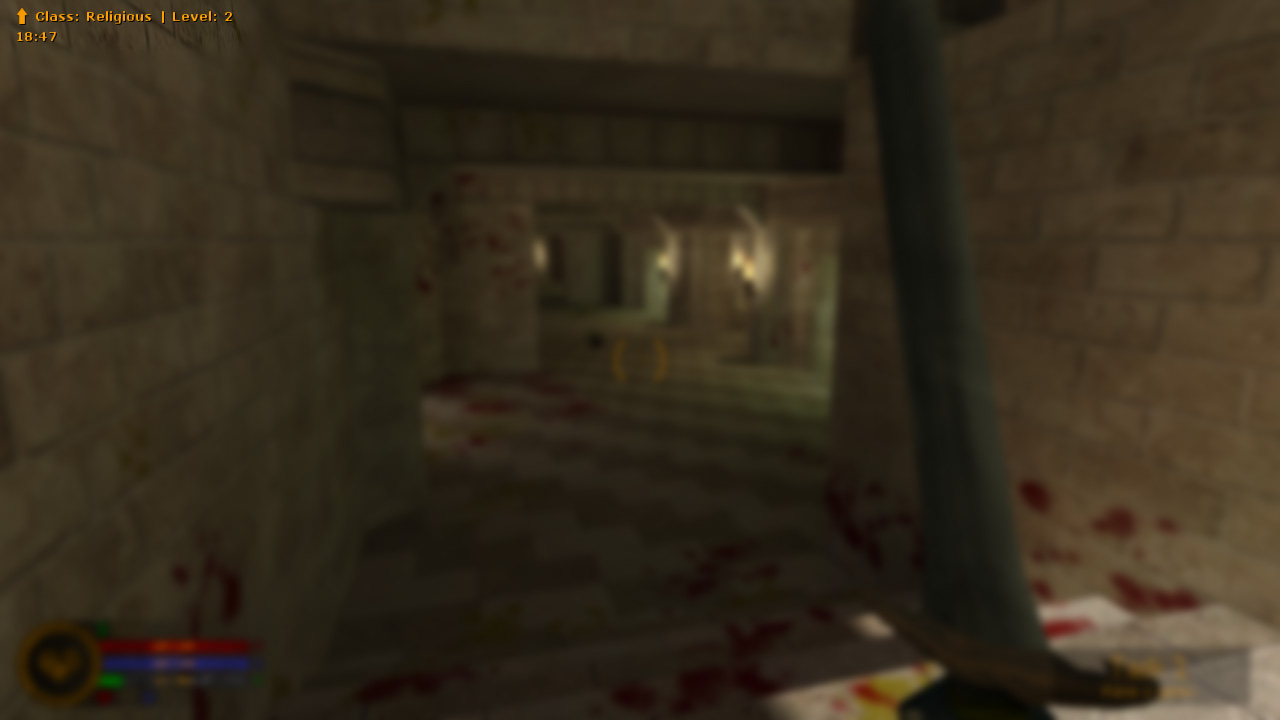
The Class portion tells you exactly what class you chose, which is important to take note of.
The Level reading is very important because it’s tied to not only your survival, but your ability as well. Although climbing the ladder of levels may be exhilarating and keeping you attached to the game at hand, that may not be enough to keep you alive in this game, it all comes down to how you apply the single point that comes with reaching each level as you progress.
The Time is there to tell you exactly just what time it is on your side of the world and should you feel it late, a simple check to the clock will tell you all that you need to know. Wouldn’t want to play past your bedtime, right? No matter how fun the game may be, You always want to take at least a 15 minute break every couple of hours or every hour should you choose to.
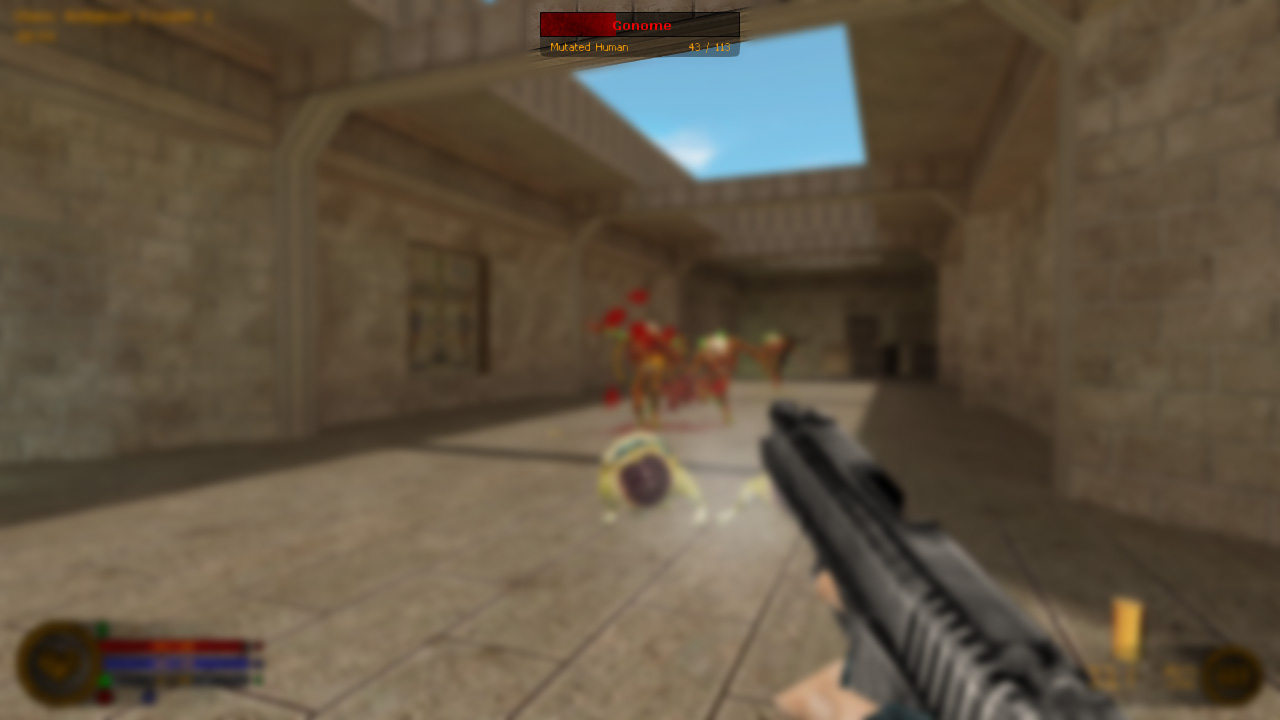
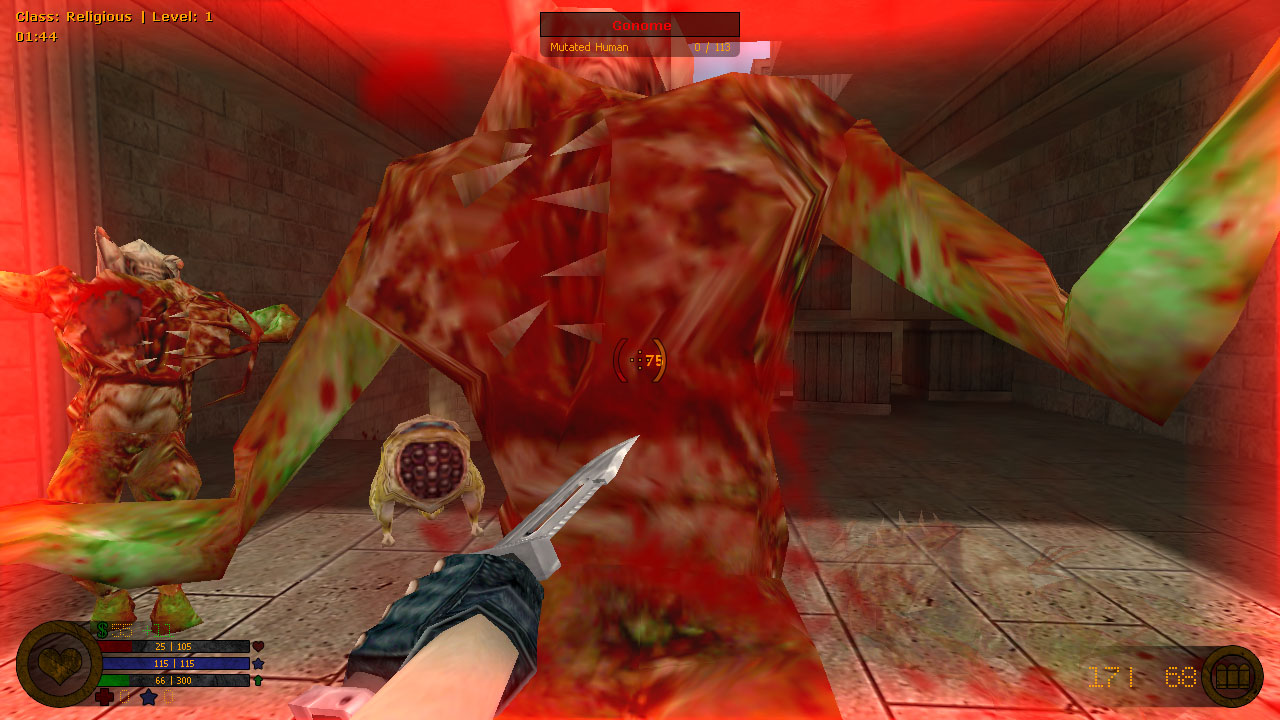
If you are looking at some non-player controlled creature, you will notice its life bar at the top of the screen. It shows a little description of the creature and amount of his current/maximum hit points in numbers.
Character Menu
I want you to press the “C” key. Take a mental note of what you see. You are given four skills to apply your points into. They are the LPTS. “Legerity, Precision, Toughness and Sorcery.” They are the four skills to your survival.
Legerity: The ability you want to go to if you find yourself lacking in outrunning your enemies, or you want to vault onto a stack of crates for getting a better vantage point and advantage over the aliens, then I recommend applying points to it from time to time, because it also helps with ammo carry capacity!
Precision: The go to ability for accuracy and damage. For when you want to put down those pesky alien scum and defend the base! It should be the skill you want to apply yourself to mainly.
Toughness: The third ability and arguably the most important because it increases your defense as well as upgrades your vitality to provide more towards your eventual survival in this dreaded land of base defending.
Sorcery: Well, Sorcery is a wonderful, but often overlooked ability by many because they want to focus on speed, damage and health. But, I for one will tell you that dealing points into Sorcery will most certainly help you to have a much better time in Base Defense. It is your go to for Mana Point upgrades and buffs to the different skills you are given with the classes.
In this list, to the right of these, there lies the “Powers” list. This list here is attached to the skills of the class character you chose at the very start of the game. These powers enhance your current last (3rd) skill to make it much stronger than it previously was, further increasing your efficiency. You will noticed they are locked. “Why is that?” you might ask. They are unlocked based on level increments. 15, 20, 25 and 40. You’ll most definitely want to reach these levels to unlock the superb upgrades these provide!
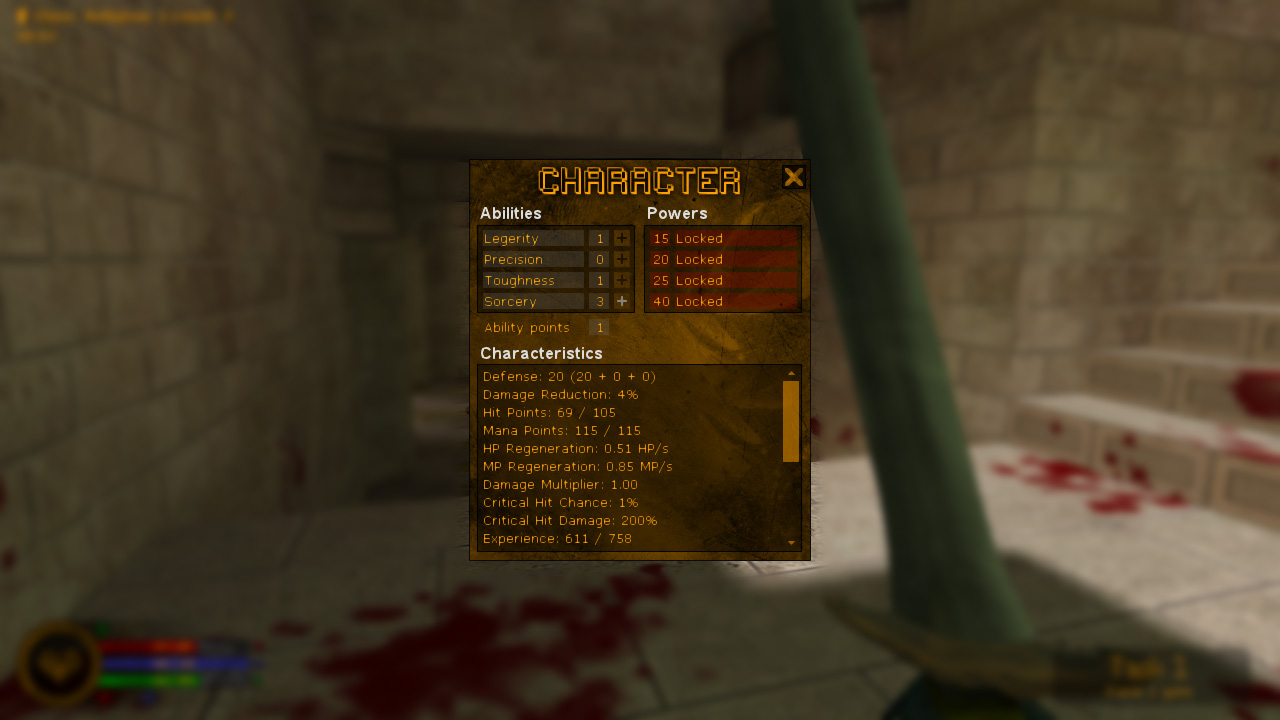
And, underneath all of these, lies a large box of numbers, number crunching and percentages. This is the working inner body of your LPTS. This is where you can observe percentages and numbers pertaining to how much your levels are truly helping you. It’s a rather nerdy little tidbit and it can help you understand as well.
Now that you’re aware of your character menu, you’re certainly on the path to success in Base Defense.
Task Menu
Do you feel awfully light on the gills for the sharp and utterly terrifying encounters of alien scum? There’s a remedy for this and it’s simpler than one might expect and it’s to no expense at all! I want you to press the “V” key. This is the task key. It provides you with an ever increasing number of tasks which you can complete in order to gain various rewards such as armor, trinkets and other assorted goodies that you may find quite nice. It’s a wonderful key, you should try it!
Skill Menu
You probably feel as if you can take on the world now, right? That’s all great when said, but in order to survive, you may want to know about what your class can do!
To learn what it can do, I would recommend hitting the “B” key. This will bring a menu with four “locked” icons. These locked icons signify your 3 “skills” and 1 “spell”. These “skills” are what your class is capable of and they give each class a certain advantage in what they can do alongside “teamwork”. This is of course, a job for a team and a well balanced, well oiled team makes a great alien killing machine!
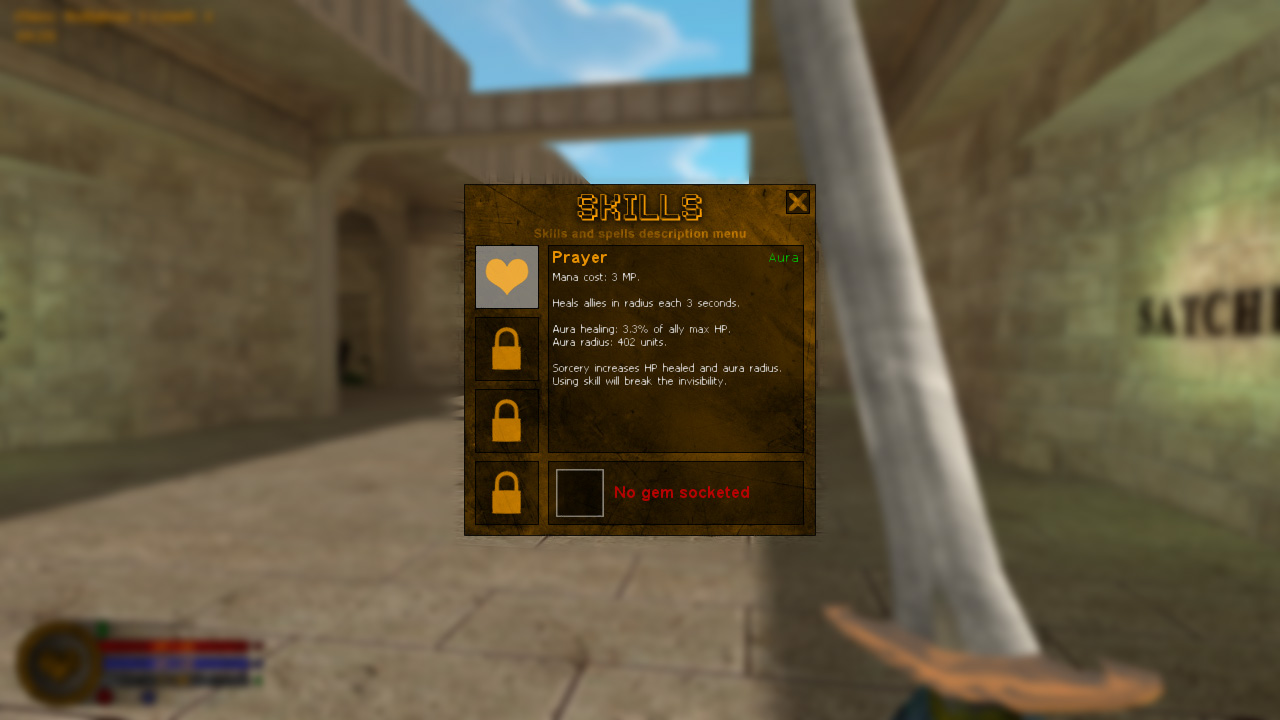
Each of these skills will be unlocked at level increments of five. They will certainly aid you in your survival. The spell is obtained in another manner that we will get to in a little bit.
Inventory
Do you wish to know what is in your backpack, should you pick up something along the way? Then look no further than the “I” key. Press it and and watch as it reveals to you the secrets of your rucksack. It’s there to tell you what you’re wearing and what extra doodads you picked up along the way.
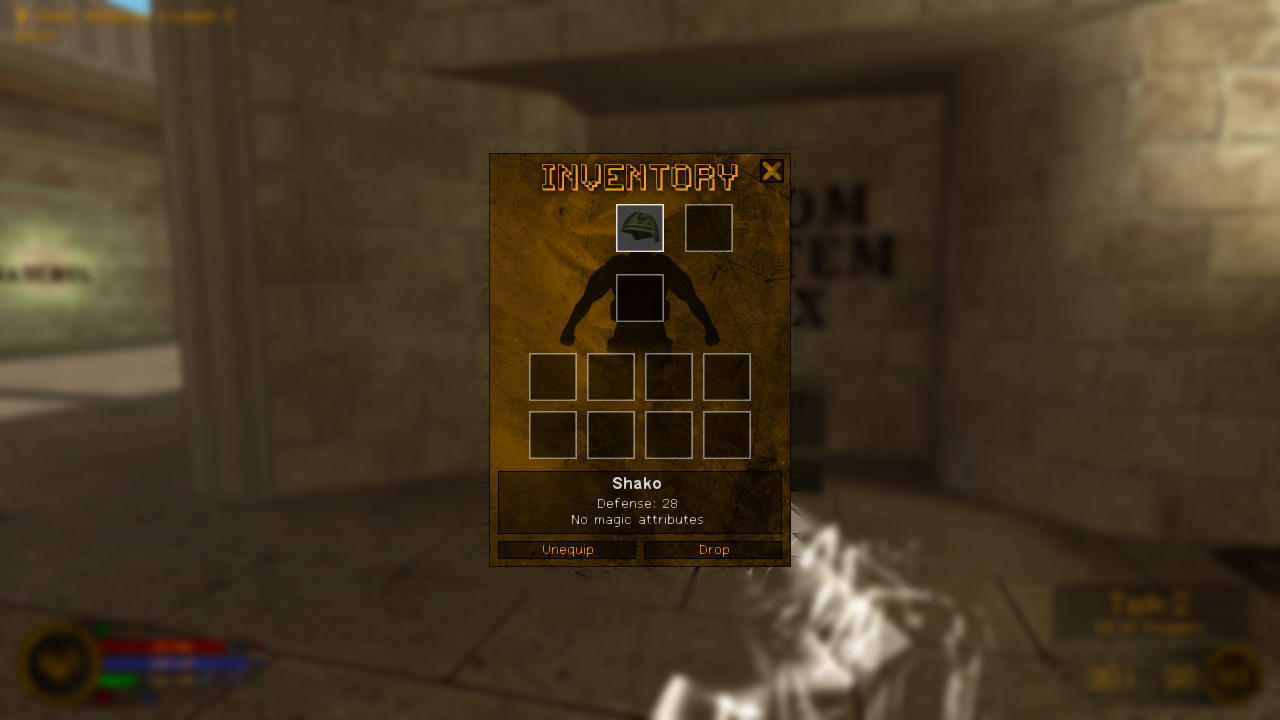
It’s useful as can be!
Combat
Now you know the basics. Congratulations! The text below will tell you about some “in-combat” features.
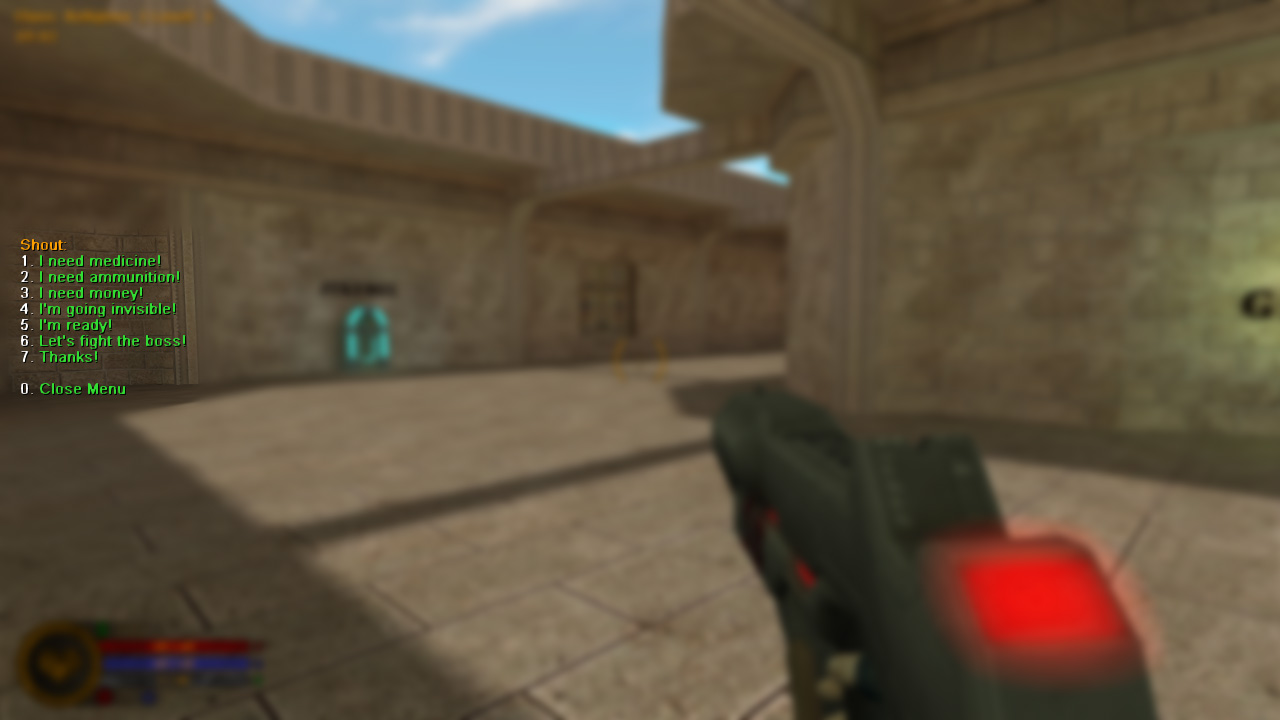
Quick Messages
Have you found yourself wondering “What ever will I do to let my teammates know what I’m thinking? What I’m scheming? Are they in trouble and need to know quickly? You can’t type it out fast enough, they’re in deep danger? Press the “Z” key. It will bring up for you, a list of “shouts” which are calls for enemies, strategies and otherwise typically helpful notifications that you’re in too much of a bind to type out! They’re quite helpful for team based work!
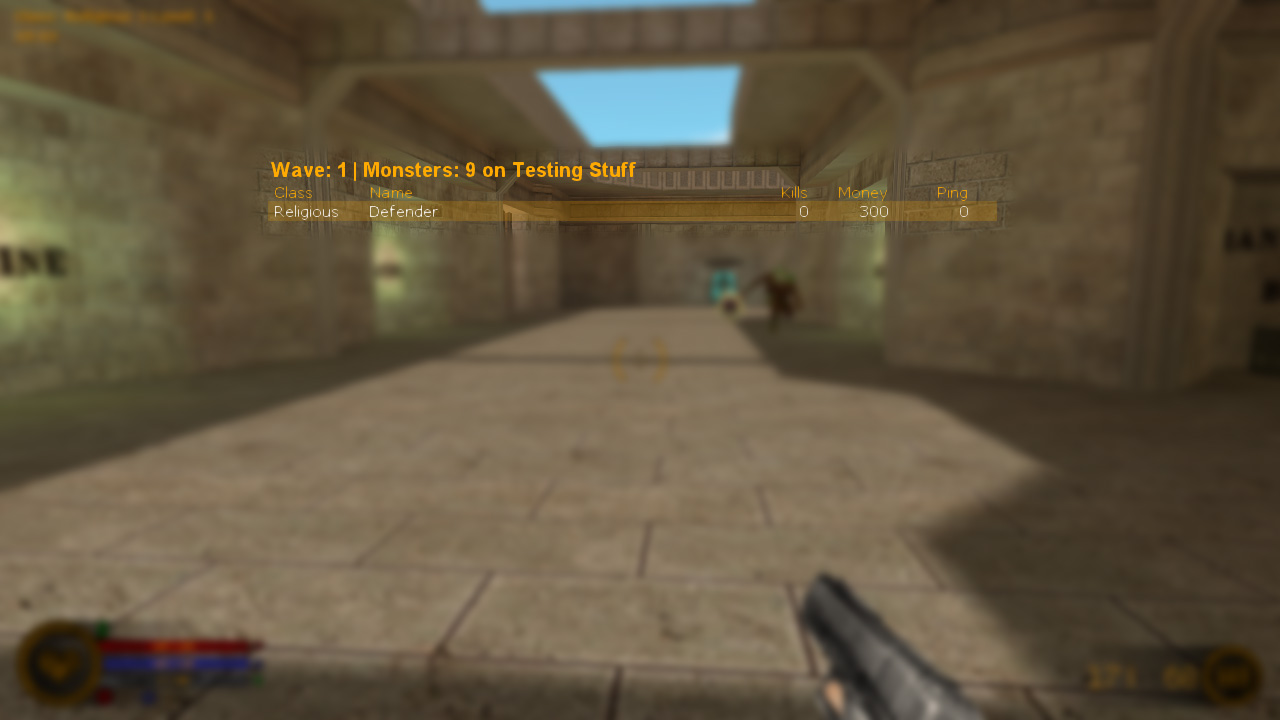
Scoreboard
Have you lost sight of your teammates? Are you unsure if you’re still working together or all alone? There’s a simple remedy to that and it’s as easy as the “TAB” key. This key will bring up the “scoreboard” which will inform you of the player names, number of players and how well they’re succeeding or in some cases, failing such as death which will be marked in red.
Quickstab
When you’re in combat and you find yourself stuck in a bind, there’s a wonderful key you can press. The “F” key. What is it? It’s a quick stabbing knife! You may be thinking to yourself “isn’t that the flashlight key though?” While yes, that’s true, in this game you don’t truly need a flashlight key, so it has been replaced with this one.
This knife is great for finishing off your enemies with haste. Try it!
Restoring HP and MP
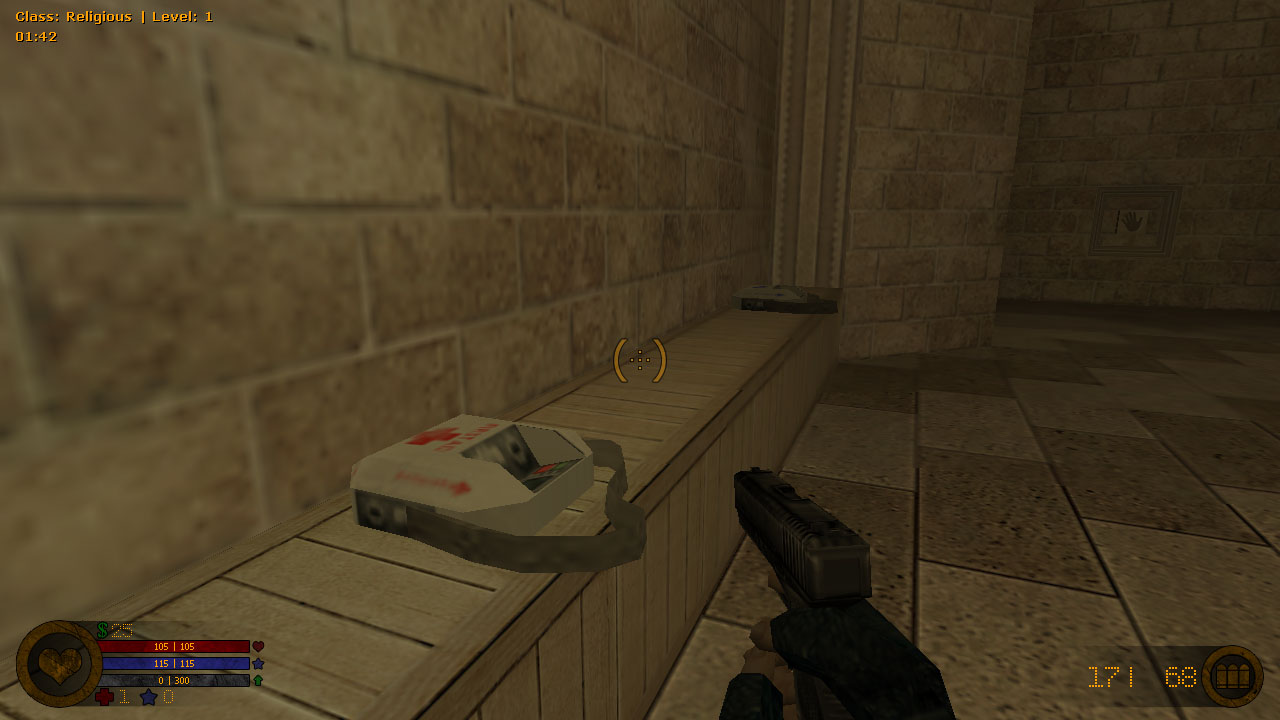
In the realm of Base Defense, you’re granted the privilege of carrying Medikits with you and of course the Manakits to use on the fly instead of worrying about whether or not they’ve respawned. This is probably one of the best deals you can get out of the apocalypse right now.
Medikits are of course for what you’ve known them for. Medical kits are wonderful for replenishing 10% of the total of your “Red” bar. The exact bar you never want to allow to hit zero. It is your lifeline. Literally.
Manakits are an addition that are, just like Medikits, appropriately necessary to your survival. They replenish the “blue” bar, which as you know is vital to your ability to cast your spells. The ones generally needed for the survival and progress of your team as a whole!
Use these items wisely. You can only carry two at a time (at the beginning).
Hotkeys
A picture was made to show every new hotkey in the game.
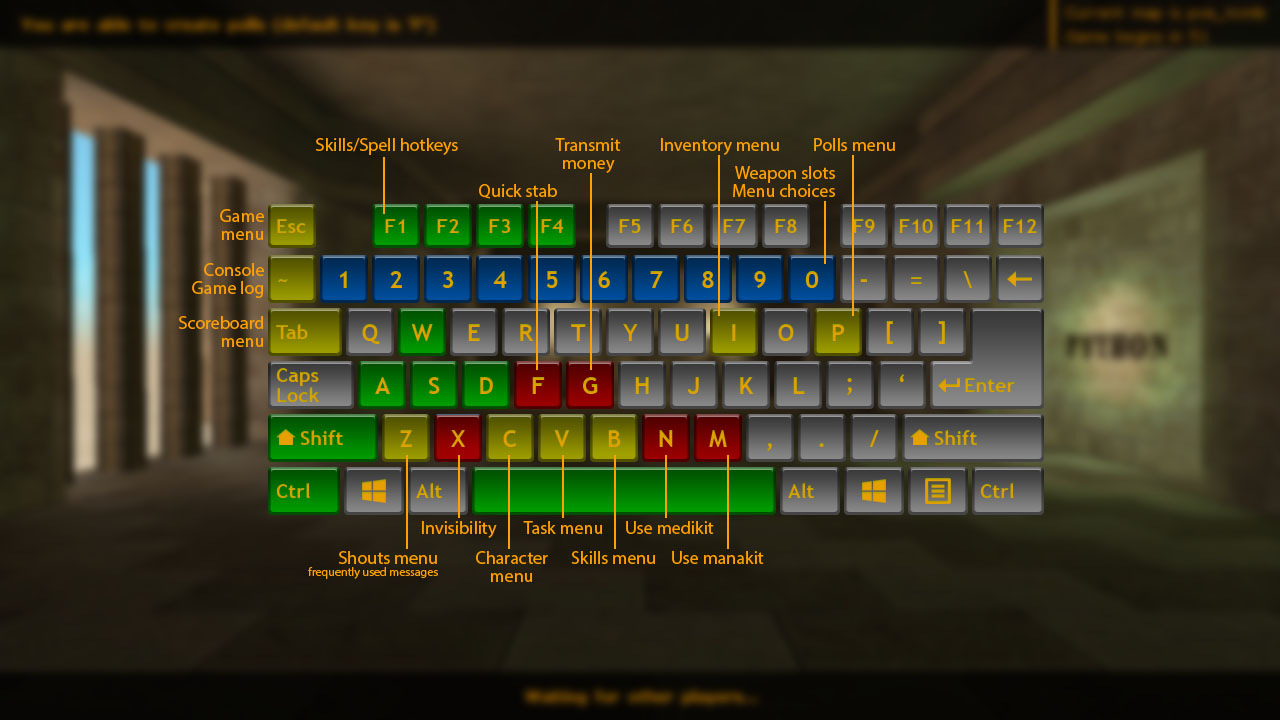
Note: it doesn’t include default Half-Life hotkeys, like chat or voice communication.
When you find it, what ever you do… Don’t read the book. I’ve warned you!
Written by: RomnyHasagawa
Edited by: PLut